How to Turn Screenshots into Professional Guides (Step-by-Step + Tools)

Screenshots capture what's on your screen, but not what to do next. A folder of unordered images rarely helps and often adds confusion.
Today, visual tutorial generators and AI-powered tools can turn screenshots into clear, step-by-step guides automatically.
This article explains how to convert screenshots into professional guides, describes what makes them effective, and reviews tools that save time.
Why screenshots alone are not effective documentation
Screenshots can show what’s on the screen, but they rarely help users figure out what to do next. Without order, context, or explanation, a folder of screenshots usually causes confusion rather than clarity.
A single screenshot captures one moment in a workflow, but it doesn’t explain what comes first, why the action matters, or what happens next.
Imagine getting a set of screenshots with no structure:
- No sequence: Which screenshot comes first? Users end up guessing at the order.
- No context: Why click this button instead of that one? The reasoning stays invisible.
- No guidance: What happens after this step? The next action remains unclear.
- Rapid decay: Software interfaces change, and isolated images become outdated within weeks.
That’s why teams need more than just screenshots. To create a professional guide, organize the images into clear steps, add notes and explanations, and ensure the flow is easy to follow.
AI-powered tools make this much easier. For example, instead of putting screenshots together by hand, tools like Scribe, Tango, and Guideless can record your workflow, organize your steps, and create instructions as you go.
What makes a professional screenshot-based guide
Many teams think that adding a few screenshots will explain a process, but that rarely works.
A professional screenshot guide isn’t just a bunch of images. It’s a clear, step-by-step walkthrough that removes guesswork and helps users finish a task on their own.
A professional guide requires structure, clarity, and guidance, not just a series of screenshots.
Four components make the biggest difference:
1. Clear step sequencing
Each screenshot should show one clear action in the right order. Users should be able to see what to do first, second, and third without any confusion.
When steps are in the right order, users can pause and come back without losing their place. This is what makes screenshots into a real step-by-step guide, not just a static reference.
2. Contextual annotations and captions
Annotations show users exactly where to look. These can be arrows pointing to buttons, boxes around form fields, or markers on important parts of the screen.
Captions add explanations that tell users what to do and why it matters.
An example of how annotations and captions turn screenshots into instructions:
When you add annotations and captions, a screenshot becomes an instruction you can actually follow, not just something to look at.
3. Consistent visual formatting
Professional guides use the same colors, fonts, and layouts throughout. This makes it easier for users because they don’t have to figure out how to read each new part.
Adding logos and company colors shows that the guide is official and trustworthy, not just a random set of screenshots.
4. Natural narration or voiceover
Adding narration turns screenshots into a guided experience. Users can watch and listen to every step, rather than read it.
Many people prefer learning by video, especially for product workflows. Modern tools can now create natural-sounding narration automatically from your steps, so you don’t have to record voice-overs yourself.
his is where screenshot-based guides become much more scalable. They stop being static documentation and become something users can actually follow.
How to convert screenshots to a guide: step-by-step
Turning screenshots into a professional guide sounds simple, but doing it by hand is where most teams get stuck.
You take screenshots, organize them, write explanations, add notes, record voice, and suddenly your “quick guide” takes hours to finish.
That’s why most teams struggle: the process seems simple, but quickly becomes time-consuming.
Here’s the usual step-by-step workflow most teams use, and how automation can help make it easier.
1. Capture the workflow
The process starts with capturing screenshots of the workflow.
You can do this manually by taking screenshots step by step, or you can use tools that automatically record your actions as you complete a task.
Three approaches exist:
- Manual screenshots: Press a key combination to capture each screen. This works for simple, one-time documentation but becomes tedious for longer workflows.
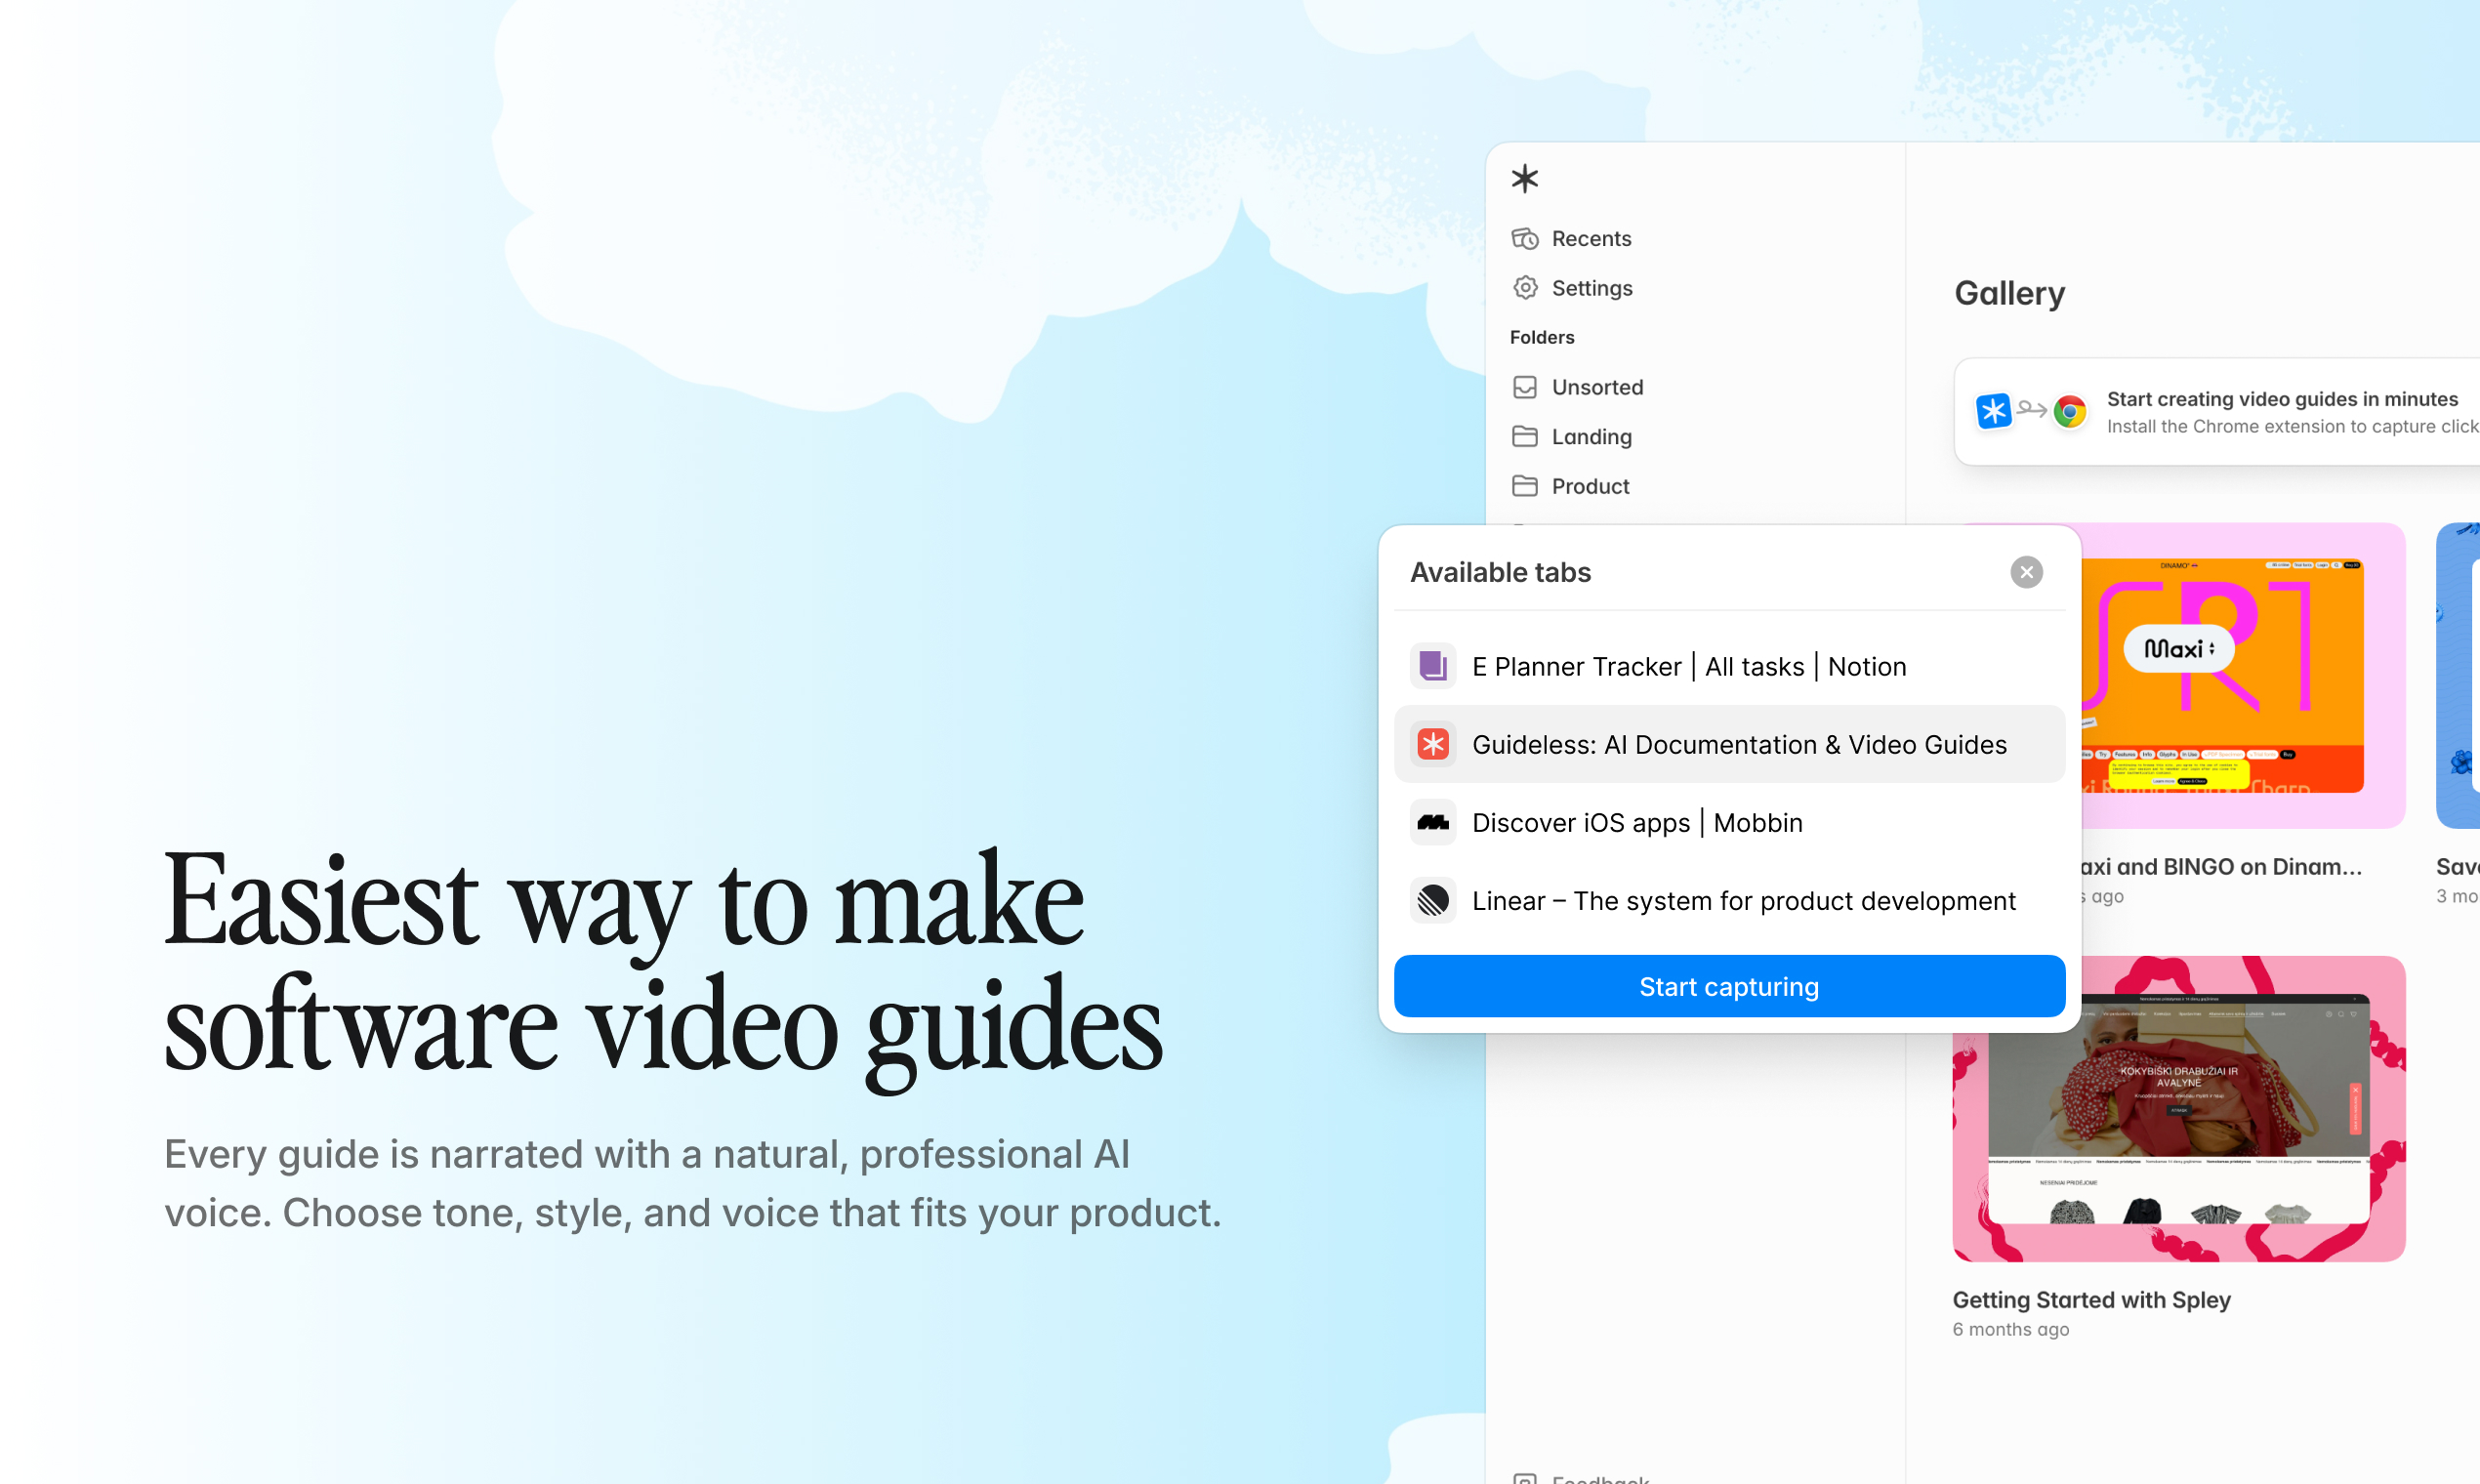
- Browser extensions: Tools like Guideless capture workflows automatically as you click through them. You perform the task once, and the tool records each step.
- Desktop applications: Some tools capture workflows across any application, not just browsers.
This is where automated capture makes a big difference. Instead of documenting after you finish, you capture the process as you do it.
2. Organize screenshots into a clear sequence
Once captured, screenshots need to be arranged in the exact order of actions.
This step is often underestimated. A single misplaced image can break the entire flow and confuse users.
You’ll also need to remove duplicates, accidental captures, and unnecessary steps. The goal is a clean, one-action-per-step structure that users can follow without having to think.
3. Add annotations and explanations
Screenshots alone aren’t enough. They need both visual and written guidance.
Annotations (arrows, highlights, boxes) direct attention to the right place.
Text explains what action to take and why it matters.
This step takes a lot of time if you do it by hand, especially for complex workflows.
4. Add narration (optional, but powerful)
To make your guide more engaging, you can add narration.
There are three common ways to add narration:
- Write scripts manually: Draft the narration text yourself, then record it or use text-to-speech.
- Record voiceover: Speak the narration as you view each screenshot.
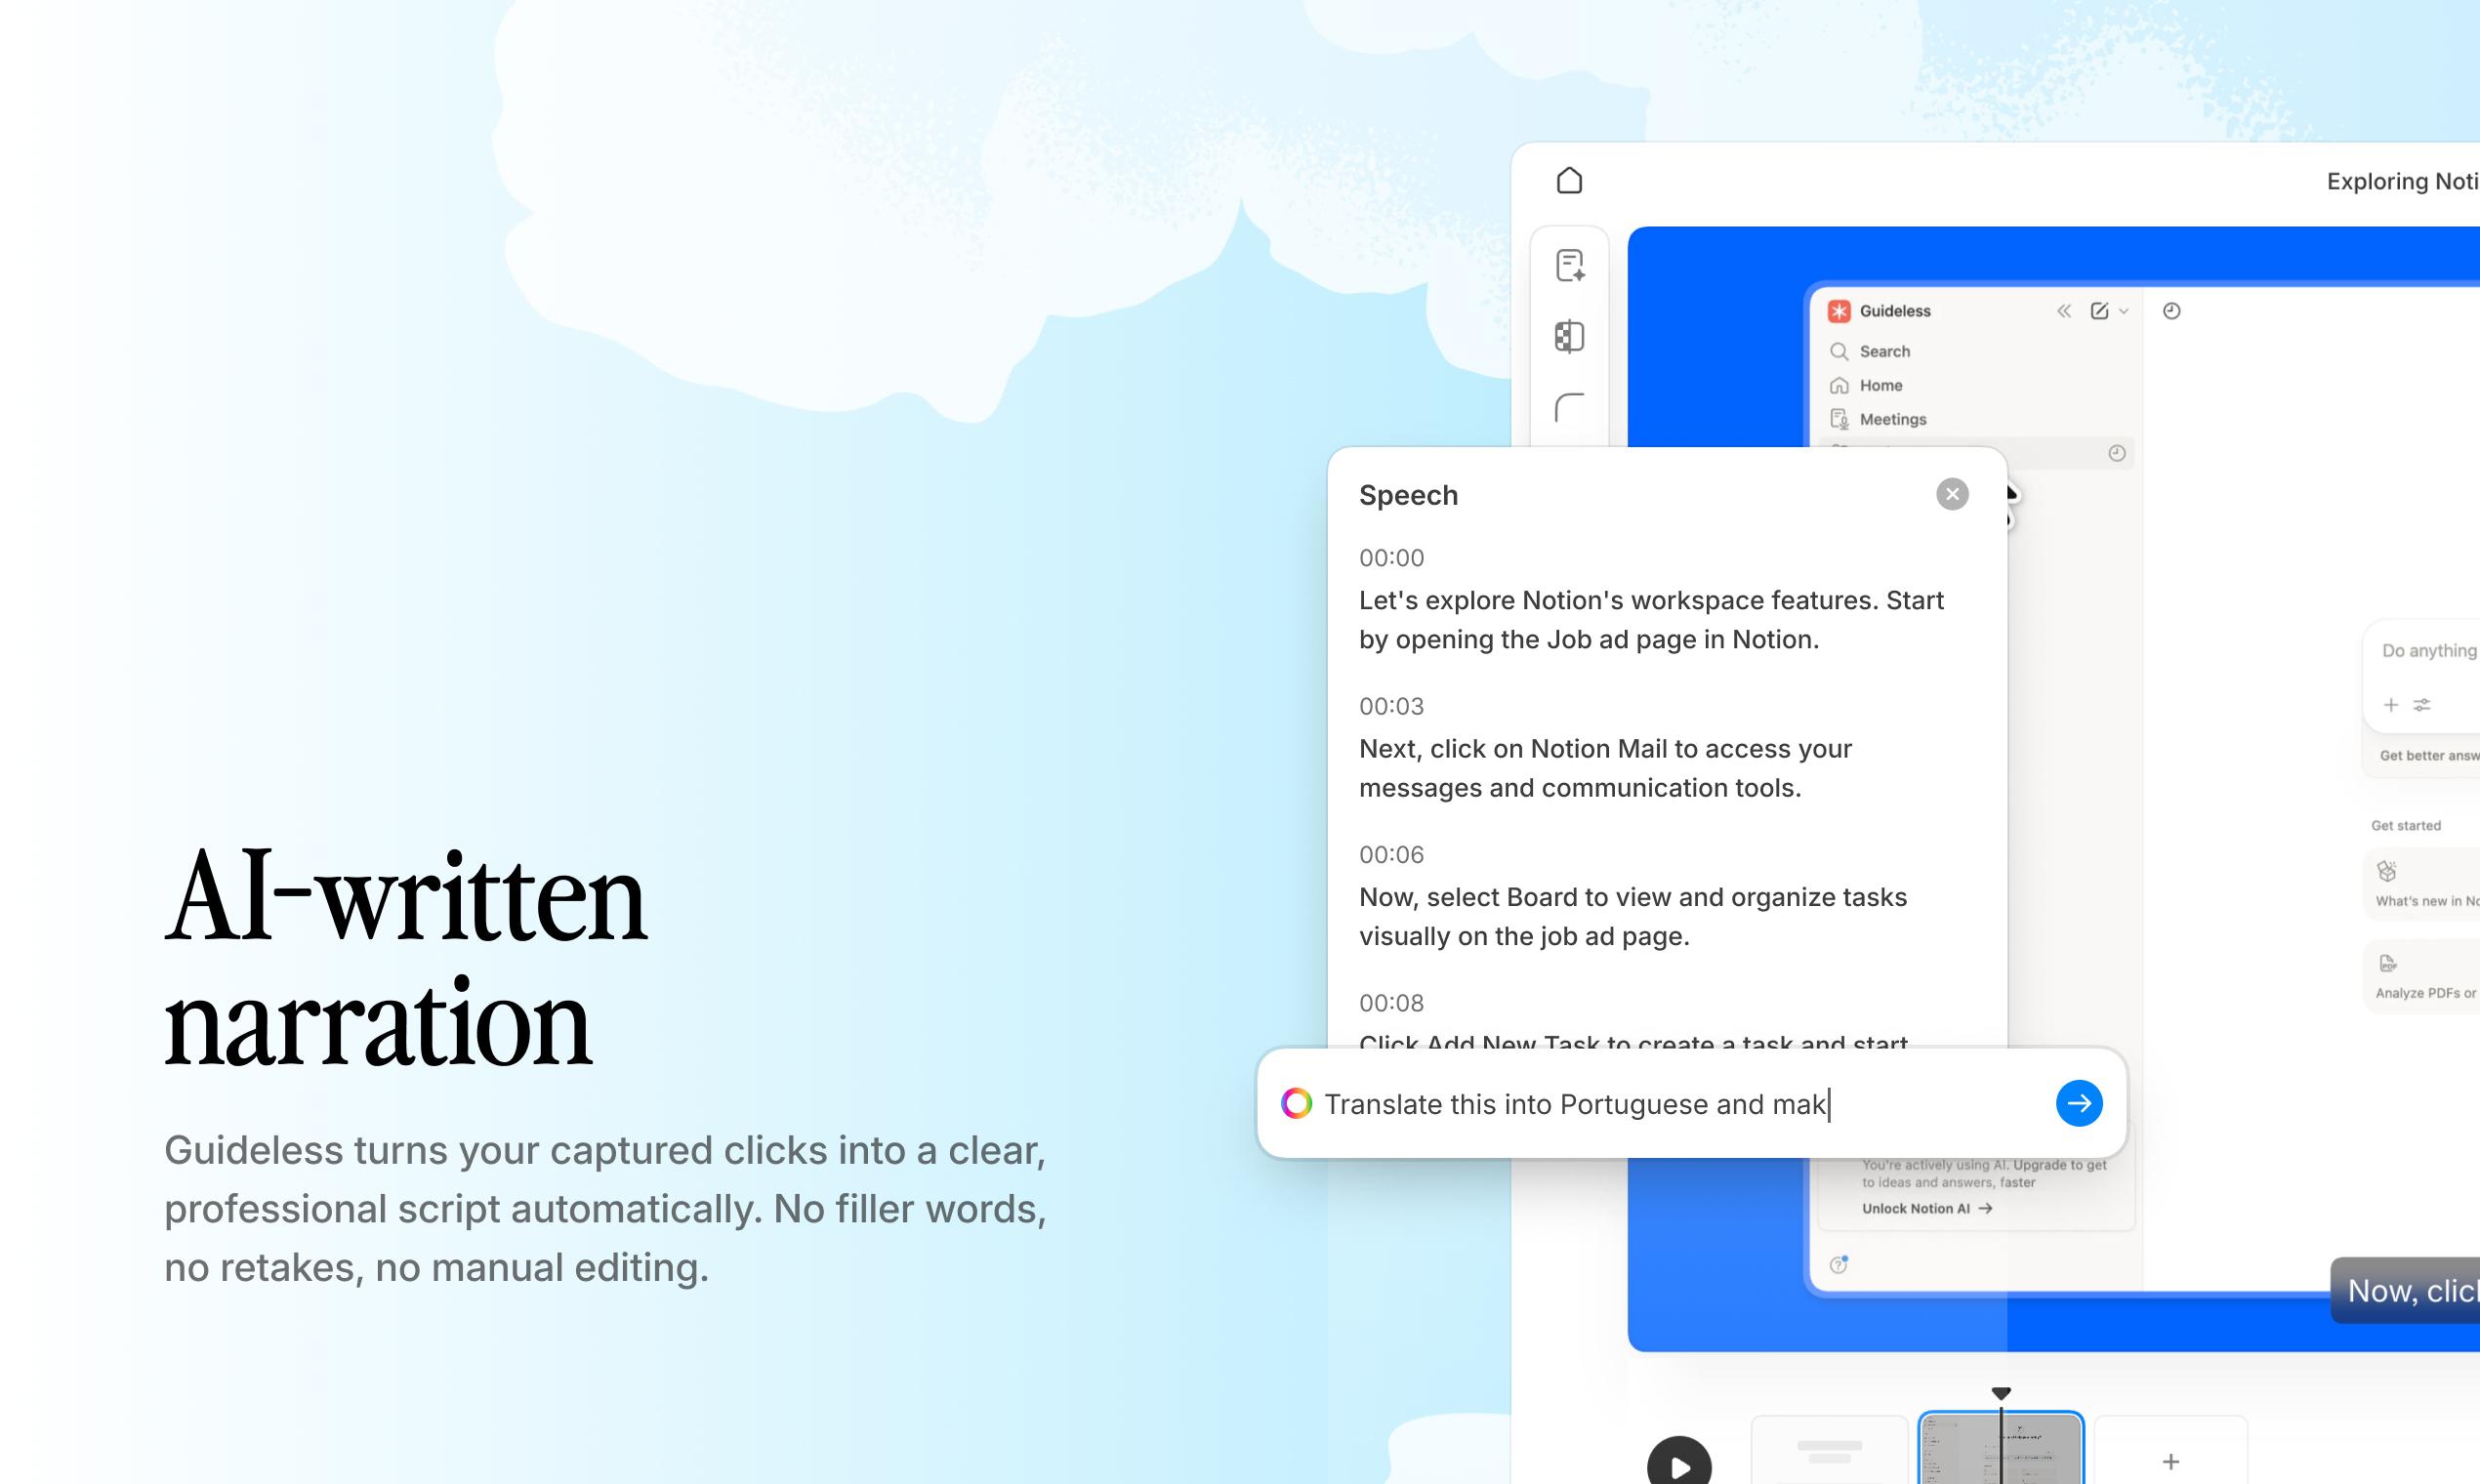
- Use AI-generated narration: Tools like Guideless generate natural-sounding voiceover in multiple languages from your script.
Narration helps users follow along without having to read every step, making guides more effective for training and onboarding.
5. Export and share the guide
Making the guide is only half the job. How you share it decides if users will actually use it.
| Format | Best for |
| Video (MP4) | Training, onboarding, and presentations |
| Shareable link | Quick distribution and easy updates |
| Embedded guide | Help centers, internal wikis, product documentation |
| | Offline access and formal documentation |
The best format depends on where your users need the guide.
For example, embedded guides work well in help centers because users can follow instructions without leaving the page, while video guides are often more effective for onboarding and training.
In reality, teams often need guides in different formats. That’s why tools that create guides once and adapt them for different uses save the most time.
How to turn screenshots into video guides with AI
Most teams still use a manual process to turn screenshots into guides: capture, organize, write, add notes, record, and edit.
AI completely changes that.
Instead of building guides step by step, capture a workflow once and let tools generate everything automatically. What took hours now takes minutes.
Automated script generation from screenshots
AI tools can analyze screenshots and automatically generate step-by-step instructions.
Instead of writing explanations manually, the system detects UI elements such as buttons, menus, and fields and generates clear, structured narration.
This removes one of the biggest slowdowns in documentation: having to explain every step yourself.
AI voiceover in multiple languages
Once the steps are generated, AI can turn them into natural-sounding narration.
Instead of recording voiceovers manually, you can generate consistent audio in multiple languages instantly. This is especially useful for global teams that need the same guide in different regions.
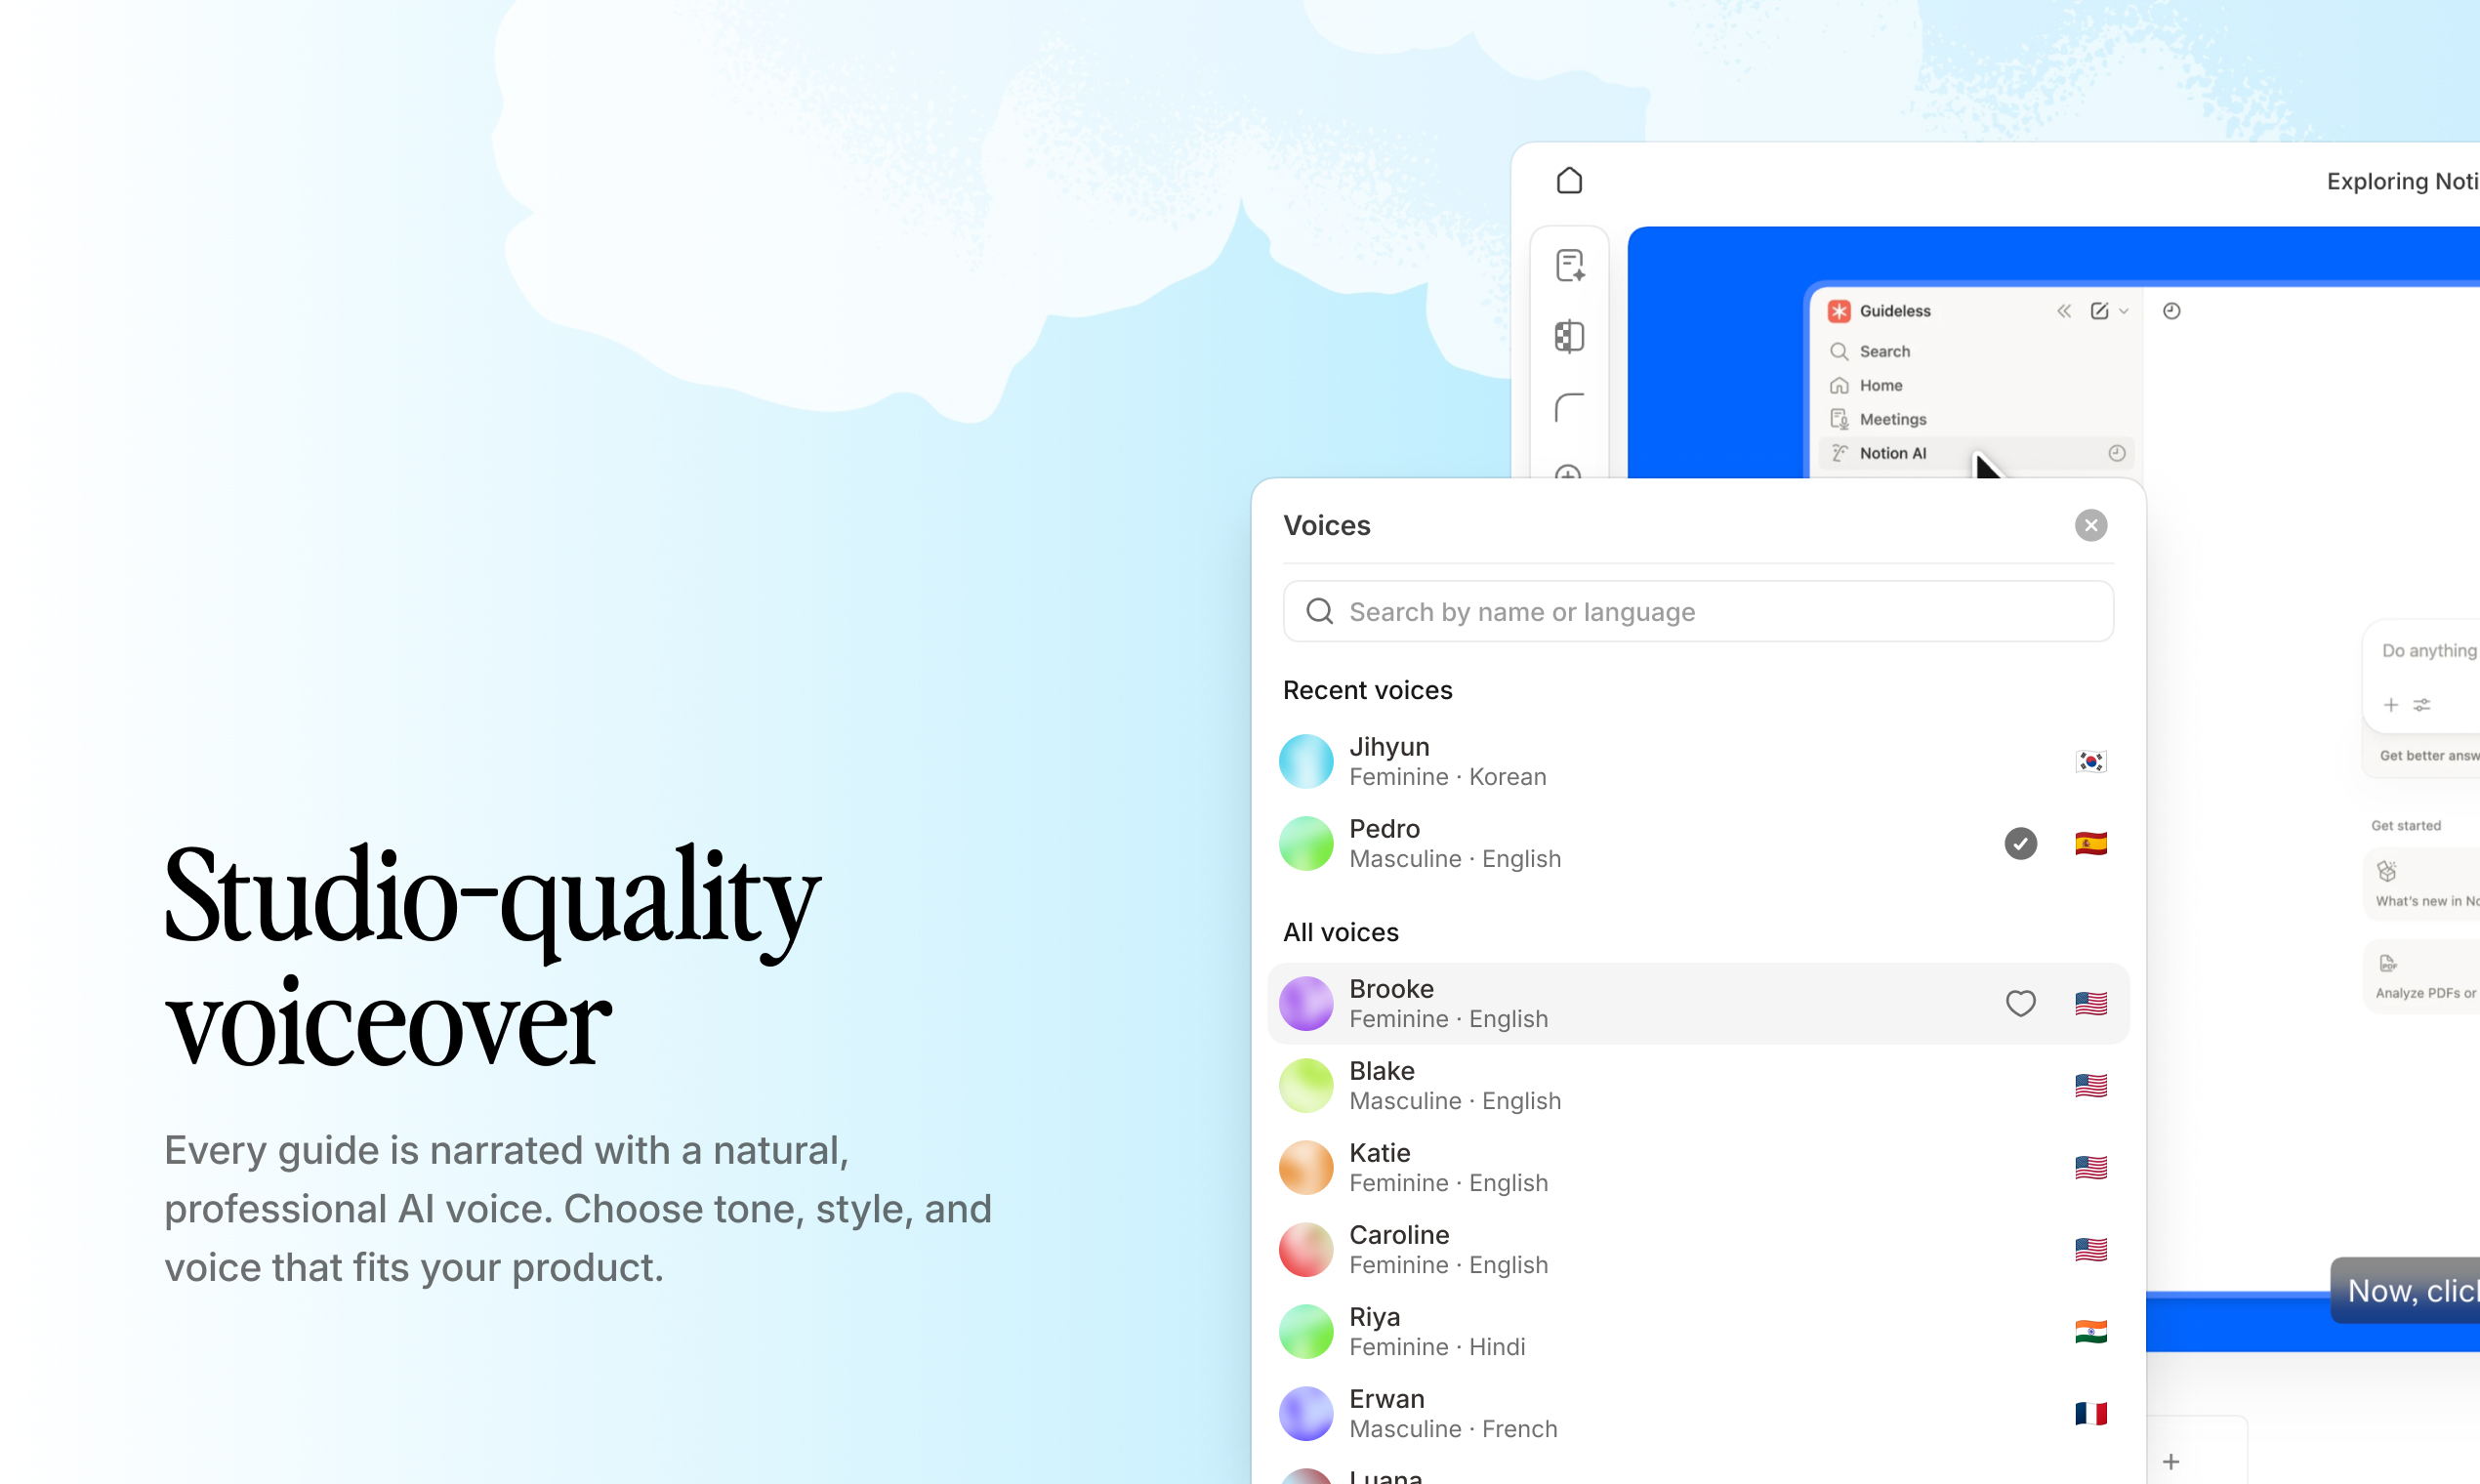
Modern AI voiceovers sound conversational and clear, making guides easier to follow without requiring production effort.
One-click video assembly
The last step, combining screenshots, text, and audio, is where traditional workflows often slow down and become complicated.
Tools like Guideless take captured workflows and turn them into complete video guides without editing software. You perform the task once, and the system generates a polished, ready-to-share guide.
There’s no need for recording setups, timeline editing, or post-production.
Best practices for visual how-to guides
Making guides is easy. Making guides that people actually use is much harder.
Most guides fail not because the information is wrong, but because they’re hard to follow, out of date, or take too much time to keep up to date.
The difference comes down to a few simple but critical practices:
Keep each step focused on one action
One of the most common mistakes is trying to show too much in a single step.
When a screenshot includes multiple actions, users have to figure out what comes first and where to focus. That’s where confusion starts.
The best rule is simple: show one action per step.
If you find yourself writing “then” or “next” in the same step, it usually means the step should be split.
Use consistent branding and formatting
Consistency makes guides easier to follow.
When colors, layouts, and visual styles change from step to step, users have to constantly re-adjust. This increases cognitive load and slows them down.
Consistent branding also shows that the guide is official and trustworthy, not just a random set of screenshots.
Modern tools make this easier by automatically applying branding, so teams don’t need to manually format every guide.
Update guides when workflows change
The biggest hidden problem with guides isn’t making them, it’s keeping them up to date. What worked a few months ago can quickly become misleading if the interface or process changes.
If updating guides takes as much effort as creating them, they simply won’t get updated. That’s why fast re-recording and regeneration are critical for keeping documentation accurate over time.
Track engagement to identify gaps
Most teams don’t actually know if their guides work.
Users drop off, skip steps, or get stuck, but without data, it’s hard to understand where the problem is.
Tracking engagement helps identify weak points.
If users consistently drop off at a specific step, that’s a clear signal that something needs improvement.
Instead of guessing, teams can refine guides based on real usage patterns and continuously improve them.
Common mistakes when converting screenshots to guides
Most screenshot-based guides fail for the same reasons.
Not because the content is wrong, but the way it’s presented often makes it harder to follow than it should be. A few common mistakes can dramatically improve how effective your guides are:
Including too many steps per screenshot
Trying to show multiple steps in a single image is one of the fastest ways to confuse users.
When too much is happening at once, users don’t know where to look or what to do first.
Keep it simple: one action per step.
If you need to say things like “then do this” for a screenshot, it’s probably showing too much at once.
Skipping context and explanations
Screenshots show what’s on the screen, but not why it matters. Users are left to guess. This becomes a problem when their situation doesn’t exactly match the guide.
A short explanation for each step makes a big difference. It helps users understand the logic behind the process, rather than blindly following clicks.
Ignoring mobile and embed requirements
Many guides are created without thinking about where they’ll actually be consumed.
Will it be embedded in a help center? Viewed on mobile? Opened during a live workflow?
If the format doesn’t fit the context, users simply won’t use the guide.
That’s why it’s important to test guides on different devices and in different situations, not just create them.
Who benefits from screenshot-to-guide workflows
Different teams use screenshot-based guides for different purposes. The common thread is replacing repetitive explanations with reusable content.
Customer success and onboarding teams
Guides replace live walkthroughs and reduce onboarding time. See how Guideless supports this in our guide on accelerating customer onboarding with AI-narrated guides.
Customers with smooth onboarding are 53.5% less likely to churn. Instead of scheduling calls to explain workflows, teams share guides that users consume on their own schedule.
Support and help center teams
Guides answer repetitive questions at scale. Learn how teams use Guideless for this in our post on simplifying support with AI step-by-step guides.
91% of customers would use a knowledge base that met their needs. When the same question appears frequently, a guide provides a consistent answer without consuming support bandwidth.
Product managers and training specialists
Guides document features and support internal training. For practical strategies, see our article on improving employee training with AI video guides. When workflows change, updated guides communicate changes without coordinating live sessions.
Screenshot guide tools compared to SOP generators
Not all tools for creating guides from screenshots are built the same.
At first, these tools may look similar since they all help document workflows. But the results, automation, and scalability are very different.
That’s why many teams feel like they’re documenting more but getting less value.
| Tool type | Output format | Automation level | Best for |
| Manual screenshot tools | Static images | None | Simple one-off documentation |
| SOP generators (e.g., Scribe) | Text with screenshots | Partial | Written procedures and internal docs |
| AI-powered guide generators (e.g., Guideless) | Narrated video guides | Full | Scalable training, onboarding, and support |
Example of a finished, ready-to-share guide:
Manual screenshot assembly tools
This is the most basic approach: take screenshots, paste them into documents, and write explanations by hand.
It works for quick, one-time tasks. But as workflows grow longer, the process becomes slower and more repetitive.
The bigger problem is consistency. Because everything is done by hand, the quality depends on who makes the guide.
Automated workflow capture tools
Tools like Scribe automate part of the process by capturing clicks and generating text-based SOPs.
This reduces some manual work, but the result is still a static document with screenshots and instructions.
These tools are useful for written procedures, but they don’t fully solve the problem of creating engaging, easy-to-follow guides, especially for onboarding or training.
AI-powered guide generators
AI-powered tools take a different approach.
Instead of generating documents, they automatically turn workflows into complete, narrated guides.
Tools like Guideless capture the process once and create a structured, video-style guide with voiceover and consistent formatting, all without needing recording, editing, or scripting.
This makes it possible to create guides faster, keep them up to date, and scale them across teams without turning documentation into a separate project.
Build scalable workflow guides without manual editing
Making guides from screenshots used to be a manual, time-consuming process: scripting, recording, editing, and always updating content.
That’s no longer necessary.
AI-powered tools enable you to capture a workflow once and automatically turn it into a complete, production-ready guide. What used to take hours can now be done in minutes.
Instead of treating documentation as a separate task, teams can create guides as they work, keep them up to date as workflows change, and continuously improve them based on real usage.
Instead of building guides step by step by hand, you can capture a workflow once and let the tool generate everything automatically, from structure to narration.
The question is no longer how to create guides from screenshots. Now, it’s about how to do it without making it time-consuming.
FAQs about converting screenshots to guides
What is the best tool for creating guides from screenshots?
The best tool depends on the format you need.
If you’re creating text-based SOPs, tools like Scribe work well. But if you want a step-by-step guide that users can actually follow, video-based guides are often more effective.
AI-powered tools like Guideless go further by turning screenshots into complete guides automatically — including structure, narration, and final output — without manual editing.
Can you create a professional guide from screenshots without video editing skills?
Yes. You don’t need any video editing skills.
AI-powered tools handle the entire process for you — from generating step-by-step instructions to adding voiceover and assembling the final guide.
In most cases, you simply capture the workflow once, and the tool turns it into a ready-to-use guide.
How do you keep screenshot-based guides up to date when workflows change?
The simplest way is to re-record the workflow and regenerate the guide.
This only works if the process is fast. If updating a guide takes as long as creating it, teams usually stop maintaining them.
That’s why tools with quick capture and regeneration workflows are essential for maintaining accurate documentation over time.
What is the difference between a screenshot guide and a screen recording?
A screenshot guide is a structured, step-by-step walkthrough with clear sequencing, annotations, and explanations.
A screen recording is a raw video capture of a process. It often includes pauses, mistakes, and lacks clear structure.
Screenshot-based guides are easier to follow, easier to update, and better suited for documentation and training.