
Key takeaways:
- Clear step-by-step instructions break complex processes into actionable steps, helping people complete tasks correctly and supporting operational consistency.
- Good, detailed instructions start with a defined scope, an understanding of the intended audience, and a clear picture of the desired outcome.
- Each step should describe one clear action, use consistent terminology, and follow clear formatting rules, with visuals and additional details that help people follow the process.
- Testing instructions with someone from the target audience can reveal missing steps, unclear wording, and assumptions the writer might have missed.
- Instructions need an owner and regular reviews so they stay accurate as tools, processes, and business requirements change.
If people keep asking how to complete a particular task, the instructions probably aren’t doing their job. Whether you’re a team lead, trainer, process owner, or anyone responsible for documenting a process, clear step-by-step instructions turn repeatable tasks into detailed guides that reduce guesswork.
Here’s a guide on how to scope the task, map it out, and write each step down, adding useful visuals. You’ll also learn how to test the instructions and keep them up to date.
What are step-by-step instructions?
Step-by-step instructions are clear, ordered directions that explain how to complete a task one action at a time. They break a task into individual steps so the reader knows what to do, what comes next, and what the finished task should look like. They are commonly used as work instructions for repeatable tasks where consistency and knowledge-sharing matter.
Unlike general guidelines, step-by-step instructions are easy-to-follow guides that focus on actionable steps. Each step should give the reader enough information to perform one part of the task without having to guess or ask for clarification.
For example, instead of telling a new employee to set up a new customer account, clear instructions explain how to open the relevant system, enter the customer’s information, configure the required settings, and confirm the account was created successfully.
Step-by-step instructions vs how-to guides vs procedures
Step-by-step instructions, how-to guides, and procedures all explain how work should get done, but they differ in scope and purpose. Step-by-step instructions focus on the exact actions needed to complete one task.
How-to guides usually provide broader guidance for accomplishing a particular goal, while procedures describe a larger process, including its stages, responsibilities, and requirements.
Here’s the difference between the three using an example of creating a new employee account:
| Format | Example | When to use it |
| Step-by-step instructions | Log in to the admin console, open Users, select Add user, enter the employee’s details, assign the required permissions, and save the account. | When someone needs precise directions for completing a specific task |
| How-to guide | To set up a new employee, first decide which accounts their role needs. Collect their details from the hiring manager, create the accounts in whichever order suits your systems, then verify access before their first day. | When readers need guidance toward a goal but may need to choose between different methods. |
| Procedure | Covers the complete employee account setup process, including who requests the account, who approves it, which teams are responsible for each stage, and when access should be provided. | When documenting a broader, repeatable process involving multiple tasks, people, or stages. |
If you need to document a broader, repeatable process, see our guide on how to create a standard operating procedure (SOP).
How to write step-by-step instructions
To write an effective step-by-step guide, make a series of deliberate decisions before, during, and after writing. The process is similar whether you’re creating instructions for customers, new employees, experienced colleagues, or another audience.
1. Scope the task
Start by defining exactly what the instructions should help the reader achieve. A clearly defined scope gives the guide a specific desired outcome and prevents it from expanding into general explanations or getting sidetracked.
You need to decide:
- What task are you documenting?
- Where does the task start and end?
- What should the reader have accomplished when they finish?
- What prerequisites, permissions, tools, or information do they need?
For example, “Create a new employee account in Google Workspace” is a clear scope, while “Set up a new employee” is too broad because it could include equipment, payroll, access permissions, training, employee performance monitoring, and dozens of other tasks.
If the task has multiple independent outcomes, consider creating separate guides rather than putting everything into one long set of instructions.
2. Identify the audience
Next, determine who will follow the instructions and what they already know. The same task may require different levels of detail depending on the reader’s experience.
Decide:
- Is the reader a new employee, experienced colleague, customer, or administrator?
- How familiar are they with the required technical terms?
- What permissions or technical knowledge do they have?
- Are there accessibility or language considerations to account for?
For example, an IT administrator will most likely understand what an admin console is, while a new employee may need to be told where to find it. Avoid explaining familiar concepts unnecessarily, but don’t leave out information that your target audience needs to complete the process successfully.
3. Map the task before writing
Perform the task yourself and map the exact and complete sequence from the starting point to the desired outcome. This helps spot steps that seem obvious to an expert but aren’t obvious to someone following the guide for the first time.
Write down:
- The starting point.
- Every action required.
- Decisions or conditions that change what happens next.
- The expected result after important actions.
- The final state that confirms the task is complete.
Then check for missing or unnecessary steps. For example, “Open the employee record and select Edit” may be one step if both actions happen in the same place, while “Enter the employee’s details, assign permissions, and send the invitation” may need to become several steps because each action has a different purpose and result.
4. Write the instructions
Now, turn the task map into clear, sequential instructions. Each step should tell the reader what to do and where to do it, using direct language and the exact names of relevant buttons, menus, fields, or tools.
A useful rule here is one clear action per step. If a step contains several unrelated actions joined by “and”, check if they should be separated.
Weak example: Open the employee record, add their details, assign the correct permissions, and save the account.
Better example:
- Open the employee record.
- Enter the employee’s details.
- Assign the required permissions.
- Select Save.
Include the expected result when it helps the reader confirm that they are on the right track. For example, after saving an account, explain that a confirmation message should appear or that the new account should appear in the user list.
5. Add useful visuals
Decide which parts of the process are easier to follow when shown rather than described. Screenshots, diagrams, annotated images, or short videos can help readers identify the exact place where an action takes place.
Consider using visuals for:
- Unfamiliar interfaces
- Important buttons or settings
- Screens with many similar options
- Points where readers are likely to make a mistake
- Steps where the expected result is primarily visual
For example, instead of writing a long description of where to find a permission setting, an annotated screenshot can show the exact menu and option. If you want to reduce the manual work involved in creating visual documentation, see our guide to creating documentation in seconds with an automatic tutorial builder.
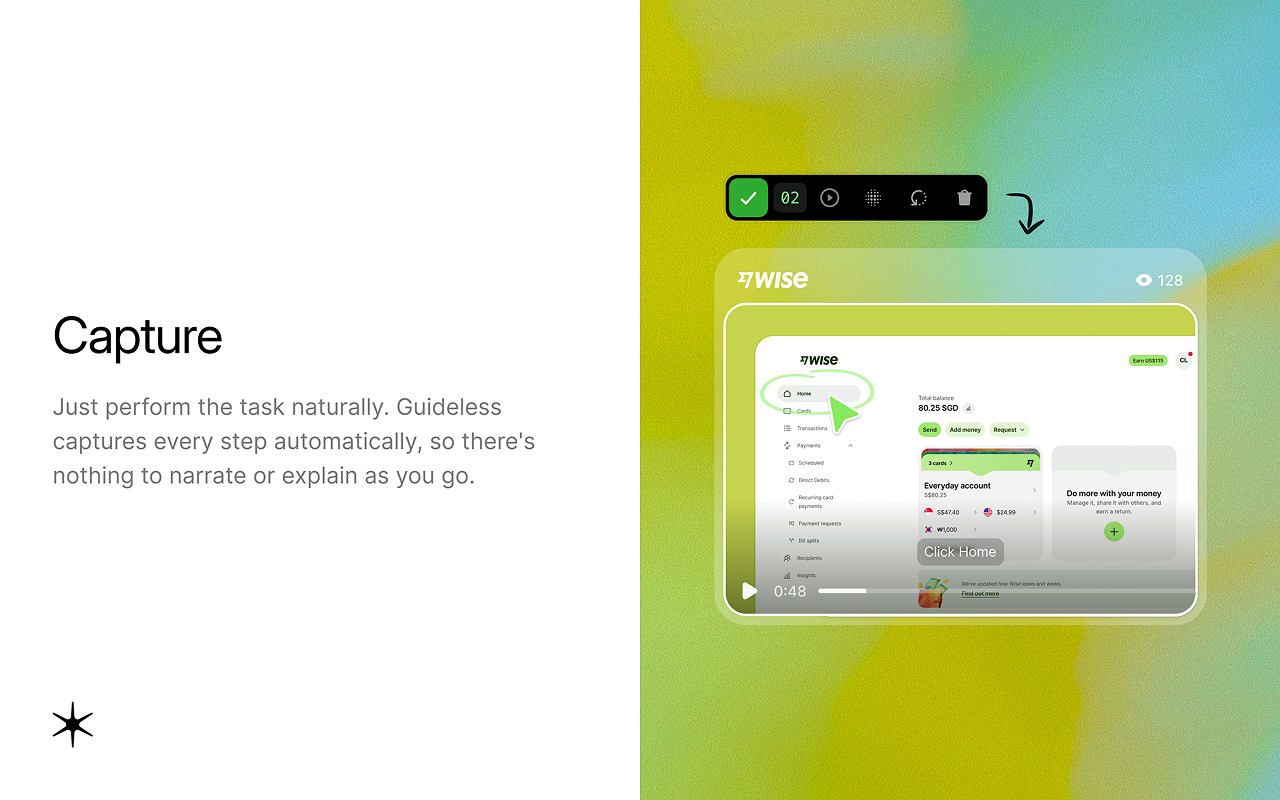
Don’t add visuals simply to make the guide look more engaging. Every image should make an action, decision, or expected result easier to understand.
6. Test the instructions
Before publishing, have someone from the intended audience follow the instructions without explaining the process to them. Testing will show wrong assumptions, missing steps, ambiguous wording, and places where readers hesitate.
Ask the tester to complete the task using only the guide. Watch for moments when they:
- Don’t know what to click or do next
- Can’t find an item mentioned in the instructions
- Interpret a step differently from what you had in mind
- Ask for information that the guide doesn’t provide
- Reach a result different from the one you expected
For example, if a new employee can’t complete an IT task without asking for help or shares negative reviews regarding the process, try to find the exact point where they got stuck and make that step clearer.
7. Publish and maintain the guide
Once the instructions have been tested and adjusted, publish them where the intended audience will actually look for them. Make the document easy to find and give readers enough context to know that they have opened the right guide.
Before publishing, decide:
- Where will the instructions live?
- Who owns the document?
- When should it be reviewed?
- What changes should trigger an update?
- How can readers report an outdated or unclear step?
[IMAGE: guideless.ai sharing features.webp | Alt: Sharing options for publishing step-by-step instructions by link or embed]
For software instructions, a UI update can make screenshots and button names inaccurate. For internal processes, a change in responsibilities or company policy can make an accurate guide obsolete.
That’s why assigning an owner and reviewing it when the underlying task changes helps keep the instructions accurate and usable over time.
How to format step-by-step instructions
Good formatting makes instructions easier to scan and follow. Decide on a consistent structure for numbering, step length, sub-steps, visuals, and conditional instructions before releasing the guide.
Use numbered steps for the main sequence
Use numbered steps when actions need to happen in a specific order. Start each step with a clear action. For example:
- Open the admin console.
- Select Users.
- Select Add user.
- Enter the employee’s details.
- Select Save.
Use bullet points for information that doesn’t need to happen in a particular order, such as prerequisites or notes. Be mindful of the step length as well: keep each step to one or two short sentences. If a step needs a few closely related actions on the same screen, nest them as lettered sub-steps (a, b, c) instead of adding new top-level steps.
Use section breaks for longer instructions
For longer guides, divide related steps into sections with descriptive headings. This helps readers see where they are in the process and return to a specific part without scanning the entire document.
For example:
Create the account
- Open the admin console.
- Select Users.
- Select Add user.
Configure permissions
- Open the new employee’s account.
- Assign the required access.
Verify the account
- Sign in using the new account.
- Confirm that the required applications are available.
Use headings that describe the purpose of each section rather than generic labels such as “Part 1” or “Part 2”.
Place visuals next to the relevant steps
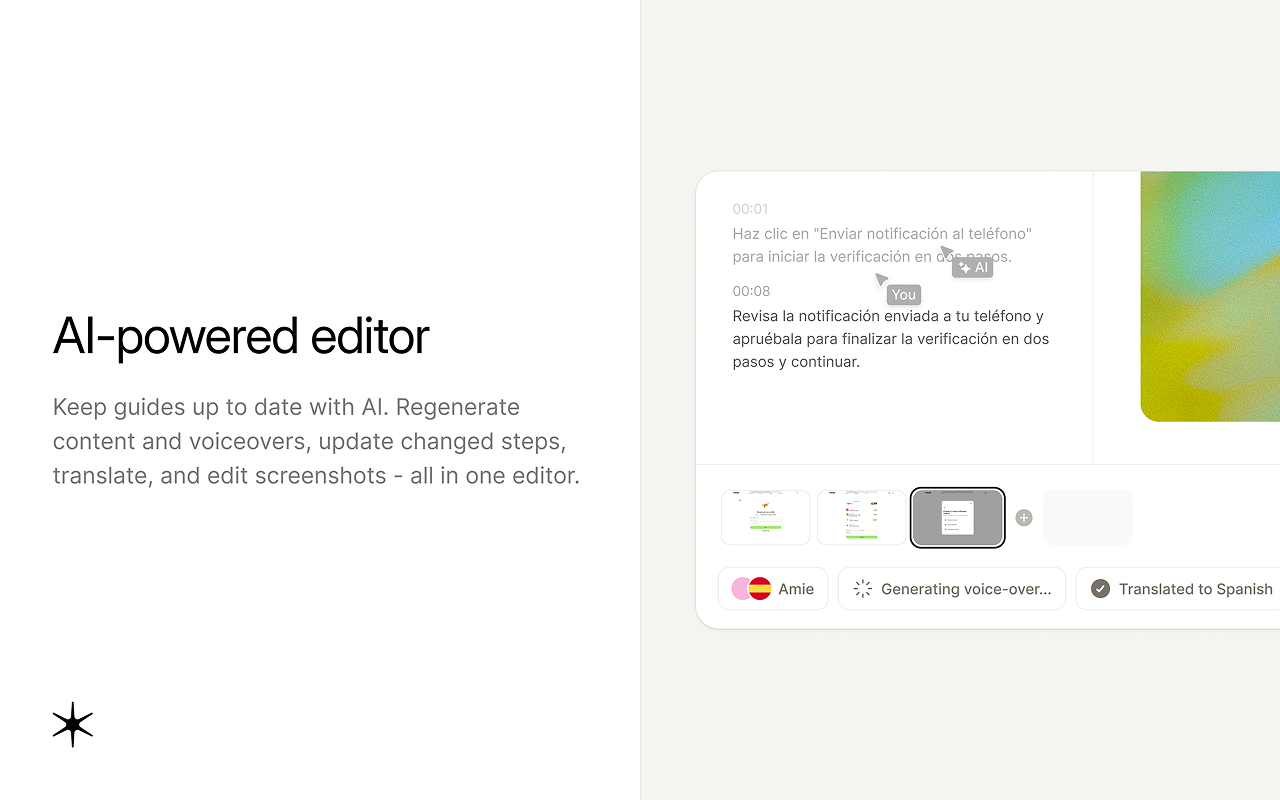
Place screenshots, diagrams, or other visuals immediately after or alongside the step they explain. Readers shouldn’t have to search elsewhere in the guide to understand which image belongs to which action.
For example, if a screenshot shows where to select Add user, place it directly below that step and highlight the relevant button if necessary.
Make conditional steps explicit
When the next action depends on a condition, state the condition clearly and separate the possible paths.
For example:
- Open Account settings.
- Check whether two-factor authentication is enabled.
- If enabled: continue to step 3.
- If disabled: select Enable, complete the setup, then continue to step 3.
- Confirm that two-factor authentication is active.
- Select Save.
For more complex branches, use clear labels such as If you use SSO and If you use a password so readers can immediately identify which instructions apply to them.
Keep terminology consistent
Use the same term for the same action or interface element throughout the guide. If a button is called “Add user” in the interface, don’t refer to it as “Create account” or “New user” unless those are actually different options.
Step-by-step instructions examples
The examples below cover different audiences and tasks, but each follows the same principles: a clear starting point, actionable steps, consistent terminology, and an obvious desired outcome.
How to request time off (for employees)
- Open the company’s HR portal.
- Select Time Off from the main menu.
- Select Request time off.
- Choose the type of leave you want to take.
- Select the start and end dates.
- Add a note if your manager needs additional information.
- Select Submit request.
- Check the My Requests section to confirm that your request is listed as pending.
This example demonstrates how a simple employee task can be made easy to follow by naming the exact menu options and showing how to confirm that the task was completed.
How to reset your password (for customers)
- Go to the sign-in page.
- Select Forgot password?
- Enter the email address associated with your account.
- Select Send reset link.
- Open the password-reset email and select Reset password.
- Enter your new password twice.
- Select Save password.
- Return to the sign-in page and log in with your new password.
This example shows how customer-facing instructions should avoid internal terminology and guide the reader from the problem they’re experiencing to a clear resolution.
How to create a new employee account (for internal use)
- Sign in to the Google Workspace Admin console.
- Open Directory and select Users.
- Select Add new user.
- Enter the employee’s name and work email address.
- Set the required organizational unit.
- Select Add new user.
- Open the new account and assign the permissions specified in the employee’s access request.
- Confirm that the assigned permissions appear on the account.
This example shows how step-by-step instructions can support employee onboarding while keeping the sequence clear and repeatable.
How to download an invoice (for customers)
- Sign in to your account.
- Open Billing.
- Select Invoices.
- Find the invoice you want to download.
- Select Download PDF next to the invoice.
- Open the downloaded file to confirm that the invoice contains the correct billing information.
This example shows that short customer-facing tasks don’t need excessive explanations. The goal is to provide only the actions and checks needed to complete the task successfully.
How to onboard a new employee (for internal use)
- Open the employee’s onboarding record in the HR system.
- Confirm that their start date, role, department, and manager are correct.
- Submit the IT access request.
- Request the employee’s laptop and other required equipment.
- Add the employee to the team’s communications channels.
- Send the employee the first-day information.
- On the employee’s first day, confirm that they can access their required systems.
- Mark the onboarding checklist as complete.
This shows that a longer task can still use step-by-step instructions when the reader needs to complete a defined sequence, while section headings or separate guides may be appropriate if each stage becomes more detailed.
Tools for creating step-by-step instructions
The right tool depends on how complex the instructions are, who will use them, and whether you need to create them manually or automate part of the process.
- Google Docs or Microsoft Word: A classic option for straightforward instructions that mainly feature text, headings, numbered steps, and screenshots.
- Notion: Good fit for teams that want instructions alongside other internal documentation, with pages that can be updated and linked from a shared workspace.
- Loom: Useful when a task is easier to demonstrate in a screen recording than to explain in text. You record the workflow and narrate it as you go rather than writing every step manually.
- Guideless: Best for software workflows. Instead of manually writing each step, taking screenshots, adding annotations, and creating a finished walkthrough, you just capture the workflow once. Then, Guideless turns it into a step-by-step process with elements such as captions and voiceovers. This is particularly useful for software guides, employee training, onboarding, and internal documentation.
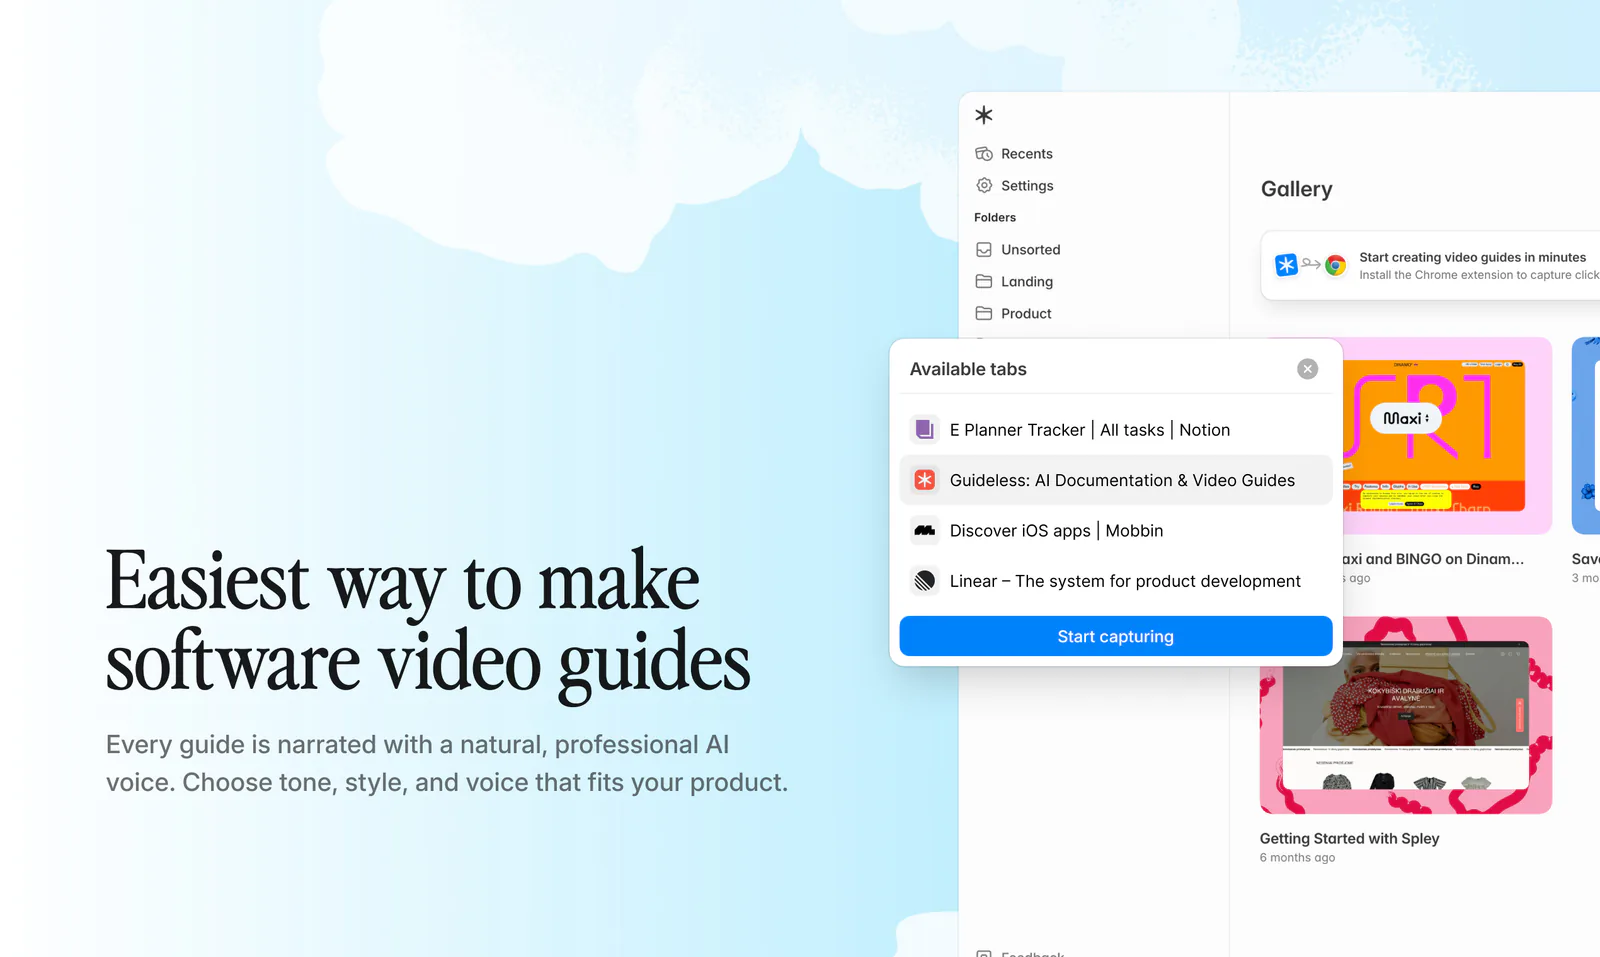
For a simple process, a document editor will be enough. However, if you need to consistently document more complex software workflows, an automated guide-creation tool like Guideless will be more efficient.
Keeping instructions current
Step-by-step instructions need an owner who is responsible for checking that they still reflect the actual process. Ownership can sit with the person who performs the task, a team lead, or the process owner.
Set the review cadence based on how quickly the underlying process changes. Stable processes may only need a yearly review, while frequently changing software or workflows may need quarterly checks. Regardless of the schedule, review instructions whenever a relevant event occurs, such as a software update, process change, new tool, policy change, or change in responsibilities.
Pay attention to the feedback from the people using the instructions, since it can unveil problems that scheduled reviews miss. Implement a simple way for readers to report an unclear, outdated, or missing step, and use recurring questions or support requests to monitor where the instructions might need updating.